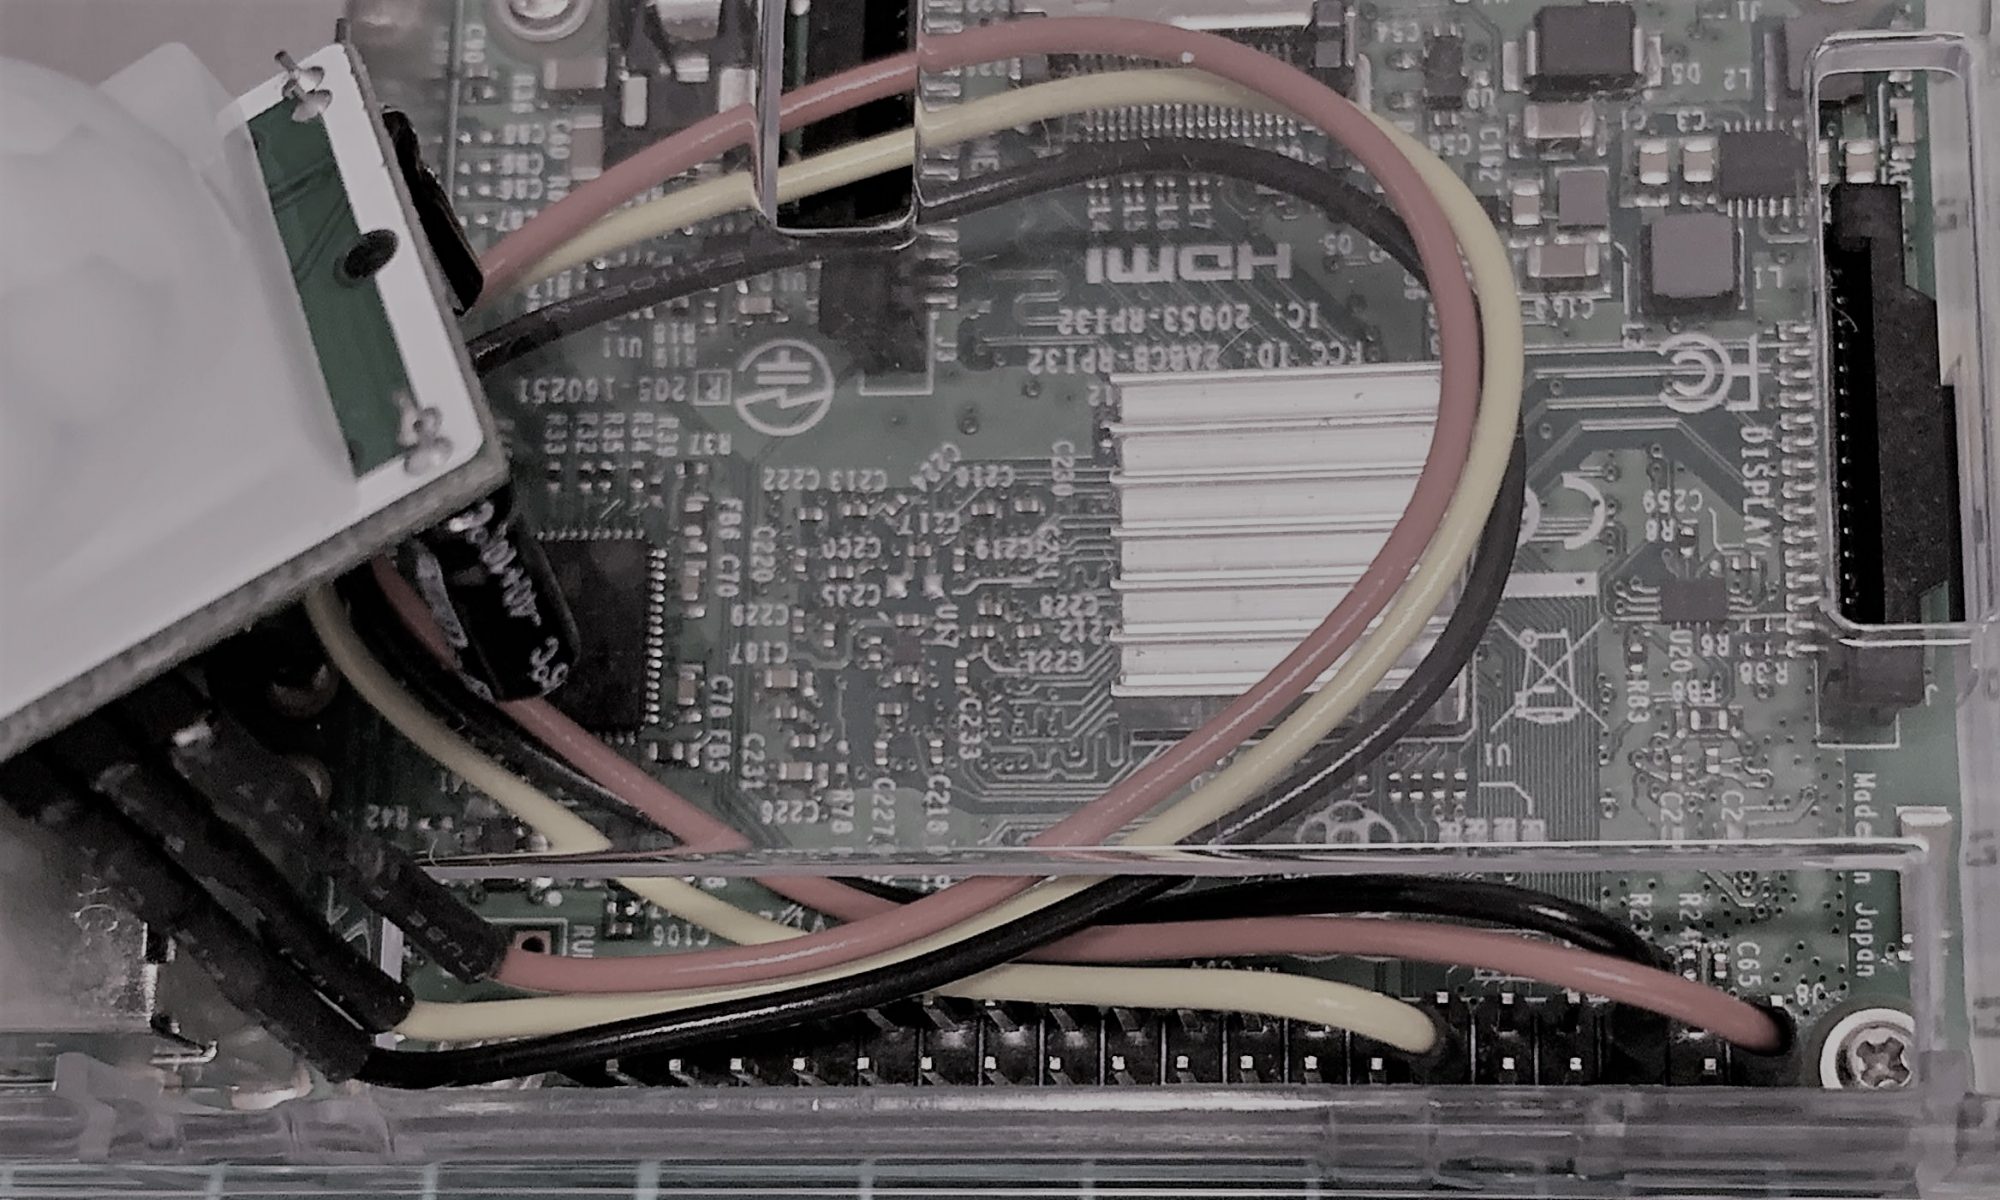
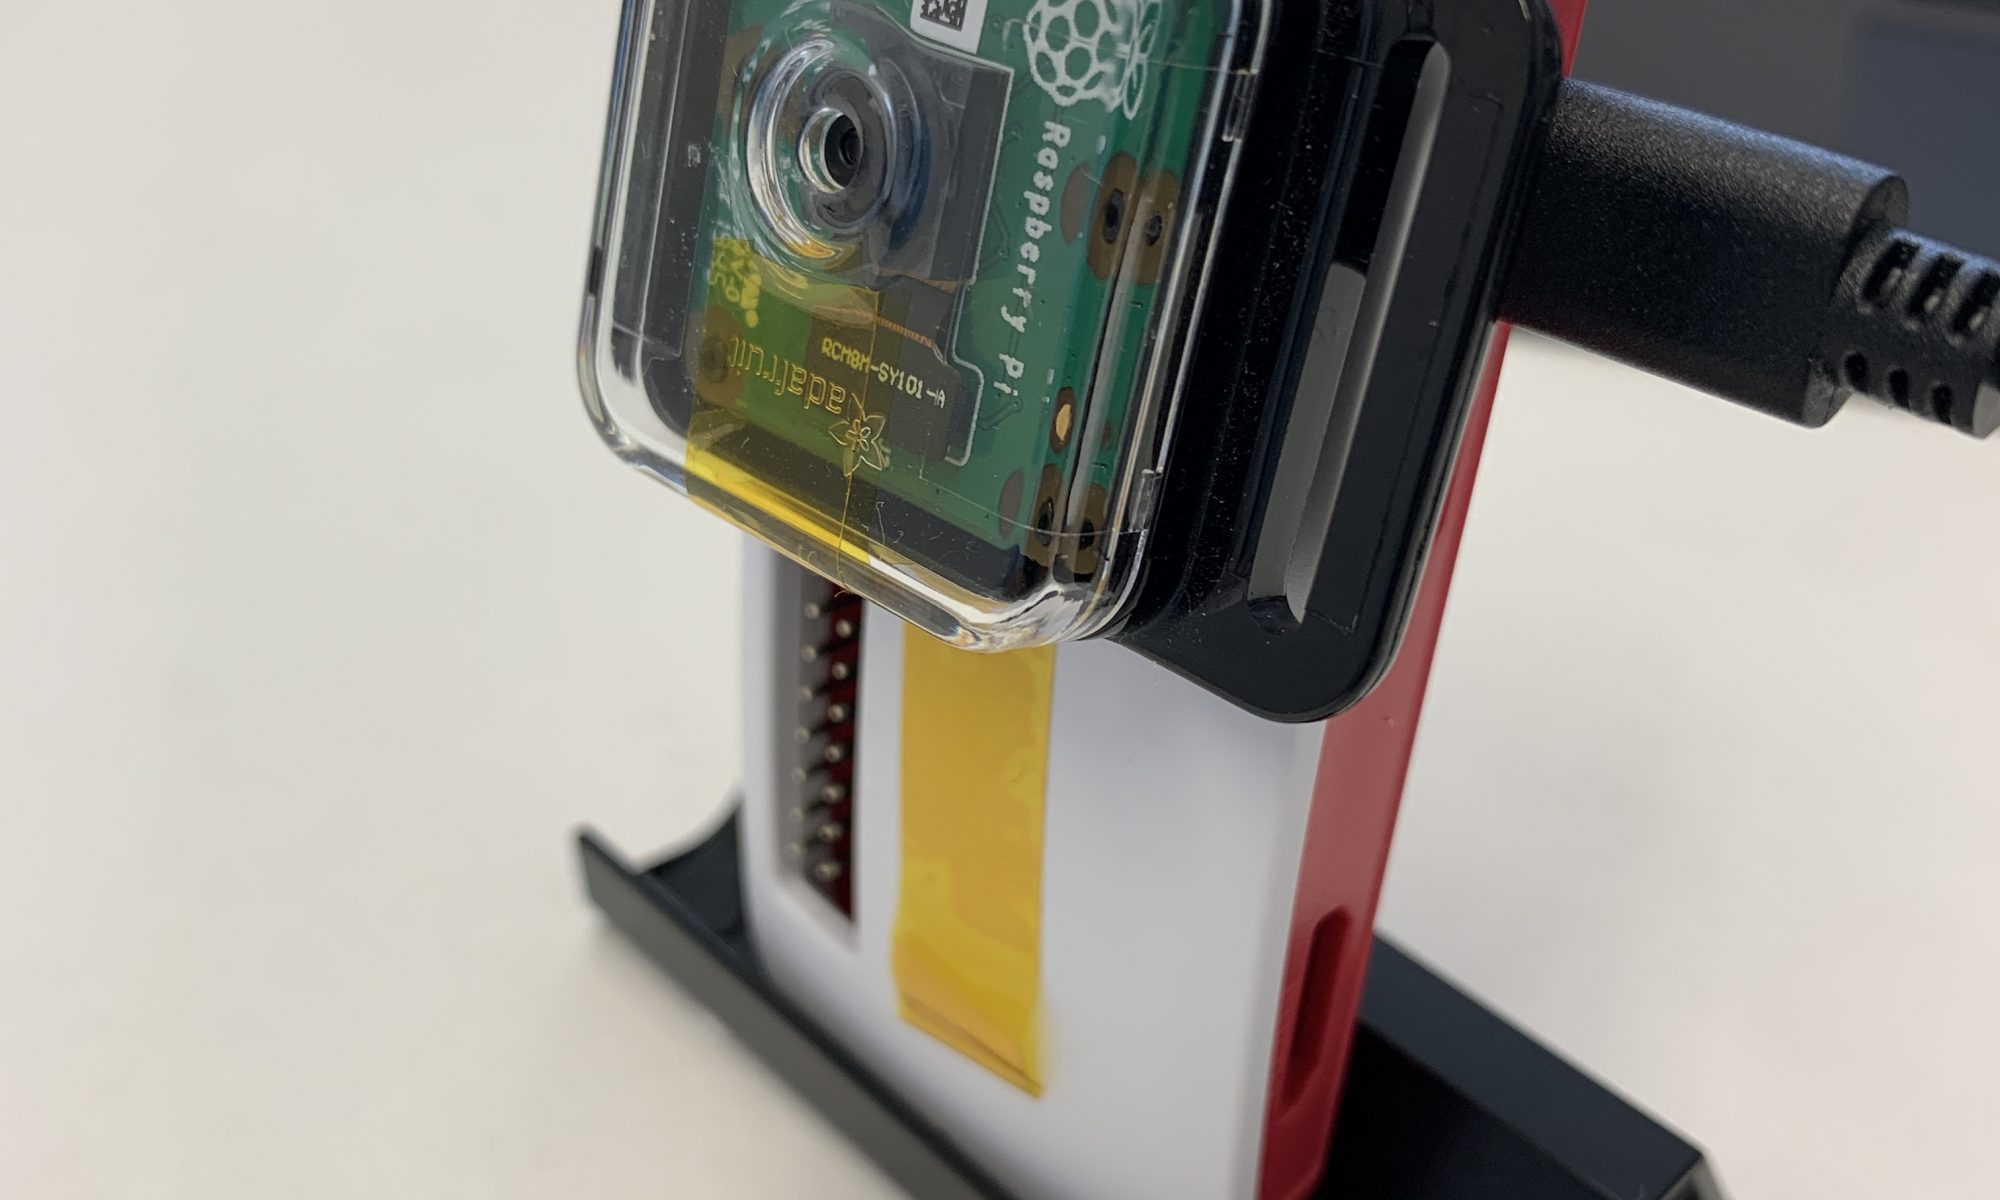
今回は小さなラズパイを使って、動体検知対応の監視カメラを作ってみました。消費電力と小型化の観点から「Raspberry Pi Zero WH」に最小限のOS「Raspbian Buster Lite」をインストールしています。GUIは重くなるのでCLIのみの動作で使用しています。
実際の動体検知対応の監視カメラは以下です。
コンパクトなのでいろんなところに設置できそうですね。

動体検知用のソフトウェアとしてmotionを使います。
以下コマンドで、motionをインストールします。
$ sudo apt install motion
最小限のOS「Raspbian Buster Lite」なので、デフォルトでmotionを動かすのに必要なライブラリが初期状態で入っていません。インストールにちょっと時間がかかります。
インストールが完了したら、motionの設定ファイル「motion.conf」を設定します。
$ sudo vi /etc/motion/motion.conf
motion.confの中身(抜粋)
とりあえず、以下の設定を有効にします。
daemon on
norm 1
width 640
height 480
framerate 20
event_gap 10
stream_localhost off
target_dir /home/user1/motion
さっそく、motionを起動します。
$ sudo motion
起動したらブラウザで「http://ラズパイのIP:8081」と入力してアクセスすると、監視カメラの映像が表示されます。

動体検知した場合の画像と動画は、motion.conf内の「target_dir /home/user1/motion」で指定したディレクトに保存されます。以下のように静止画(*jpg)と動画(*.mkv)が保存されるので確認してください。
動画と静止画の記録は、motion.confで設定できます。記録したくない場合は、以下の設定を「on」から「off」に変更すれば保存されません。
output_pictures on
ffmpeg_output_movies on

あとは、rc.localにmotionのコマンドを追記すると、起動したら自動でmotionが動くようになります。
$sudo vi /etc/rc.local
rc.localの中身
#!/bin/sh -e
#
# rc.local
#
# This script is executed at the end of each multiuser runlevel.
# Make sure that the script will "exit 0" on success or any other
# value on error.
#
# In order to enable or disable this script just change the execution
# bits.
#
# By default this script does nothing.

# Print the IP address
_IP=$(hostname -I) || true
if [ "$_IP" ]; then
  printf "My IP address is %s\n" "$_IP"
fi

sudo motion &
exit 0
再起動して、motionがきちんと起動していればOKです。
画像認識などと組み合わせるとおもしろいことが出来そうですね。


